How Long Do Vape Coils Last? Lifespan, Maintenance & Replacement Guide
Vape coils are the heart of every vaping device — without them, there’s no vapor, no flavor, and certainly no satisfaction.
That’s why understanding vape coils is essential for every vaper.
While a burnt coil doesn’t pose severe health risks, it does ruin your vaping experience with a harsh taste and may damage your device over time.
In this detailed guide, we'll explore why understanding how long vape coils last, when to replace them, how to replace and maintain them properly, and tips to extend their lifespan .
What Are Vape Coils?
Vape coils (also known as atomizer heads) are replaceable components inside your vape device responsible for heating the e-liquid and turning it into vapor that users inhale.
A vape coil typically consists of three main parts:
1. Metal Housing
Encases the coil structure. Materials often used include Kanthal, stainless steel, nickel (Ni200), and titanium.
Kanthal is the most popular choice due to its durability and stable performance.
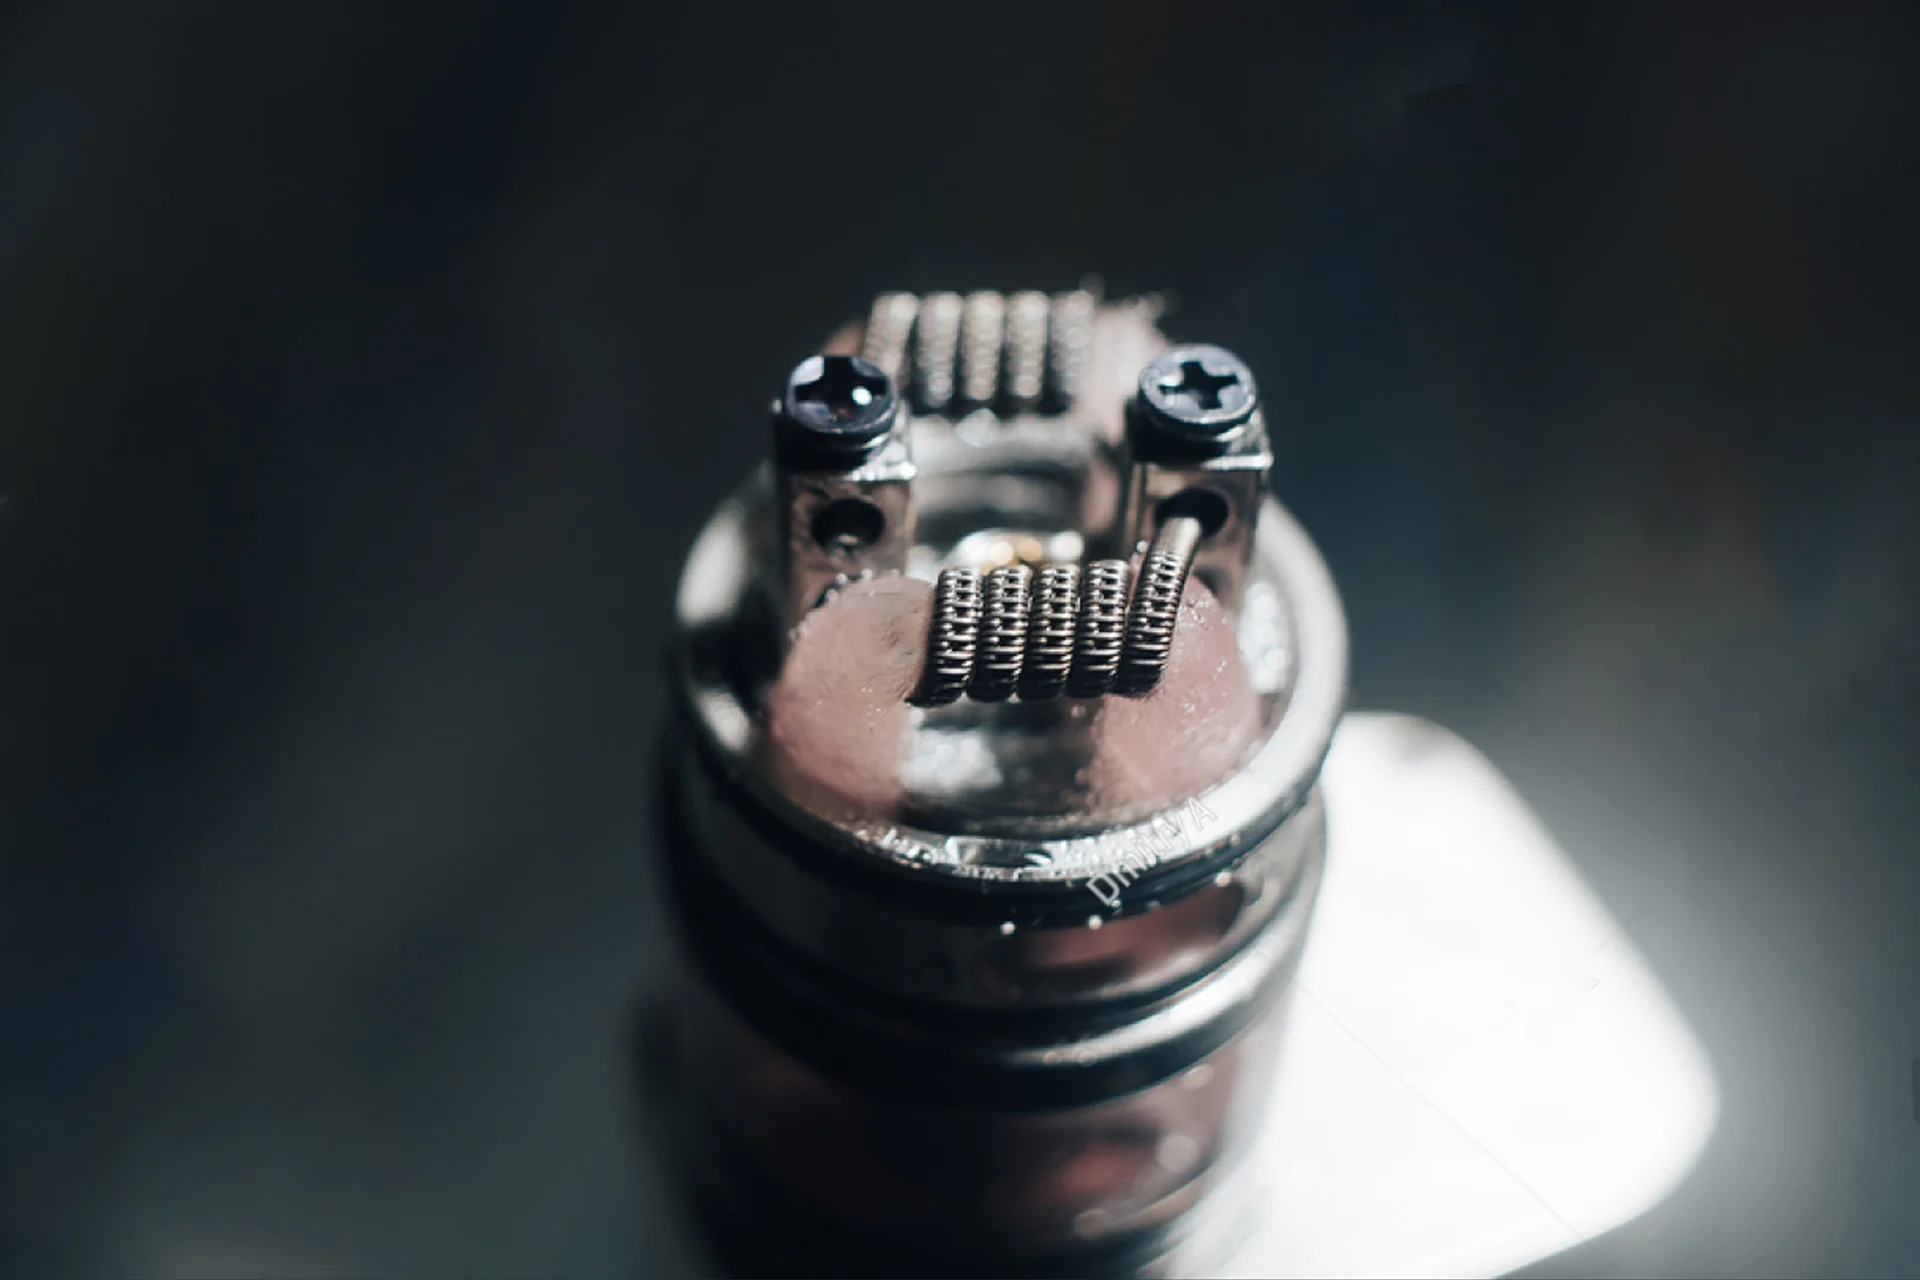
2. Resistive Wire Coil
This is the heating element, usually formed in a spiral or mesh shape.
The resistance (measured in ohms) affects how hot and fast the coil heats up.
Sub-ohm coils (<1.0Ω) are popular for producing larger clouds and stronger flavor.
3. Wicking Material
Usually organic cotton, this material draws in your e-liquid and feeds it to the coil for vaporization.
How long do vape coils last

There’s no exact answer — it depends on several factors. However, here’s a general breakdown:
| Vaping Style | Coil Lifespan |
| Heavy/Frequent Users | 2–5 days |
| Moderate Daily Users | 1–2 weeks |
| Light/Casual Users | 3–4 weeks |
Key Influencing Factors:
E-liquid type (sweeter = faster buildup)
VG/PG ratio (high VG = thicker juice = more residue)
Wattage settings (higher wattage = shorter life)
Coil quality & priming technique
Maintenance habits
How to Replace and Prime a Vape Coil (Step-by-Step)
Step 1: Remove the Old Coil
Disassemble your tank or pod and unscrew (or pull) the used coil from the base.
Step 2: Install the New Coil
Insert and screw in your new coil snugly. Ensure it's aligned correctly.
Step 3: Prime the Coil
Apply 2–4 drops of e-liquid directly onto the visible cotton areas (wicking holes). This avoids dry hits and burnt cotton.
Step 4: Reassemble & Refill
Put the tank back together and fill it with your vape juice.
Step 5: Let It Soak
Allow the vape to sit for 5–10 minutes(longer for high-VG juices) so the cotton saturates fully.
Step 6: Take Dry Pulls
Inhale a few times without pressing the fire button. This helps draw in more liquid and avoid burning the cotton.
Step 7: Break In the Coil
Start at a lower wattage than recommended and gradually increase over time. This extends coil life and enhances flavor consistency.
How to Make Vape Coils Last Longer
Maximizing coil life isn’t just good for performance — it saves money, too.
1. Always Prime New Coils
Saturate the cotton before first use and let it soak thoroughly to prevent dry hits.
2. Use High-Quality E-Liquids
Cheap or heavily sweetened e-liquids cause caramelized gunk buildup, which burns your coil faster.
3. Clean Coils (If Applicable)
Some coils, especially rebuildables, can be gently rinsed under warm water. Let dry fully before reusing.
4. Vape at the Recommended Wattage
Check the coil’s suggested wattage range. Exceeding it scorches the wick and reduces coil life.
5. Lower Nicotine Concentrations
High-nicotine or salt nic e-liquids are harder on coils. Drop to lower levels if possible.
6.Keep Your Tank Topped Off
Avoid letting your e-liquid drop below the intake holes to prevent dry spots on the wick.
7. Store Your Vape Upright
Keeping the device upright ensures even saturation and prevents leaking.
Conclusion
So, how long do vape coils last? It depends — but with proper priming, good-quality e-liquid, and smart wattage settings, you can double or even triple your coil’s lifespan.
Routine maintenance not only saves you cash — it makes every puff smoother, tastier, and more satisfying.
You may also want to read related articles:Vape Coils Low Wattage vs High Wattage